Trials and Tribulations of Website Hosting
Overview
This post details the process I went through while working on this Blog website and ultimately hosting it here at https://curiouscyrus.me/ which is hosted through an Azure Static Web App and Deployed using a Github Actions CI/CD workflow.
For more information on why this blog exists, and the content on it, see What is LEAP? You can also find the accompanying public repository for my Web app here as well!
Deciding on the Type of Website
One of the first steps on my Website creation adventure was to determine the type of website that would be suited for my specific application. For this Website, I wanted a blog-style interface which would allow sufficient customization with site organization while also keeping things simple in terms of adding new content to the Website
In this case, I also have no need to store any user data or perform complicated operations that would require real time updates, and the priority is to provide a quick and snappy experience.
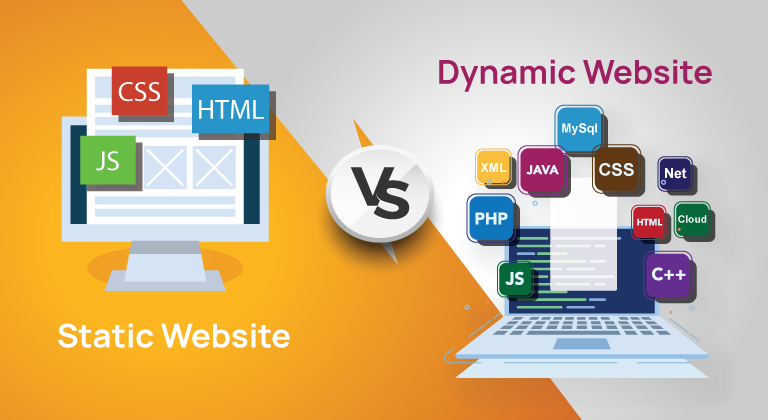
Therefore, the most appropriate type of website was a Static Website. The next steps were to determine a Website Framework to use, or whether to start from scratch!
Website Frameworks - Hugo

Hugo allows you to write pages for websites with Markdown, which was a major factor in why I decided to go with it. Partly, my goal for this Website and Domain is to display educational posts - therefore, being able to easily add posts in a simple formatting is ideal! Having worked with LaTeX in courses previously.. and not being a huge fan, Markdown is a nice switch!
I also figured with the widespread applicability of Markdown as a practical documentation method, I oughta' get some practice 😉
Installing Hugo
- Working with Hugo is fairly straightforward, though, when it comes down to customizing your website - there are a few nuances based on your Theming choices.. more on this later!
For my Windows system, I used Chocolatey and while running an admin powershell, install simply required
1 choco install hugo
Theming.. and Re-Theming...
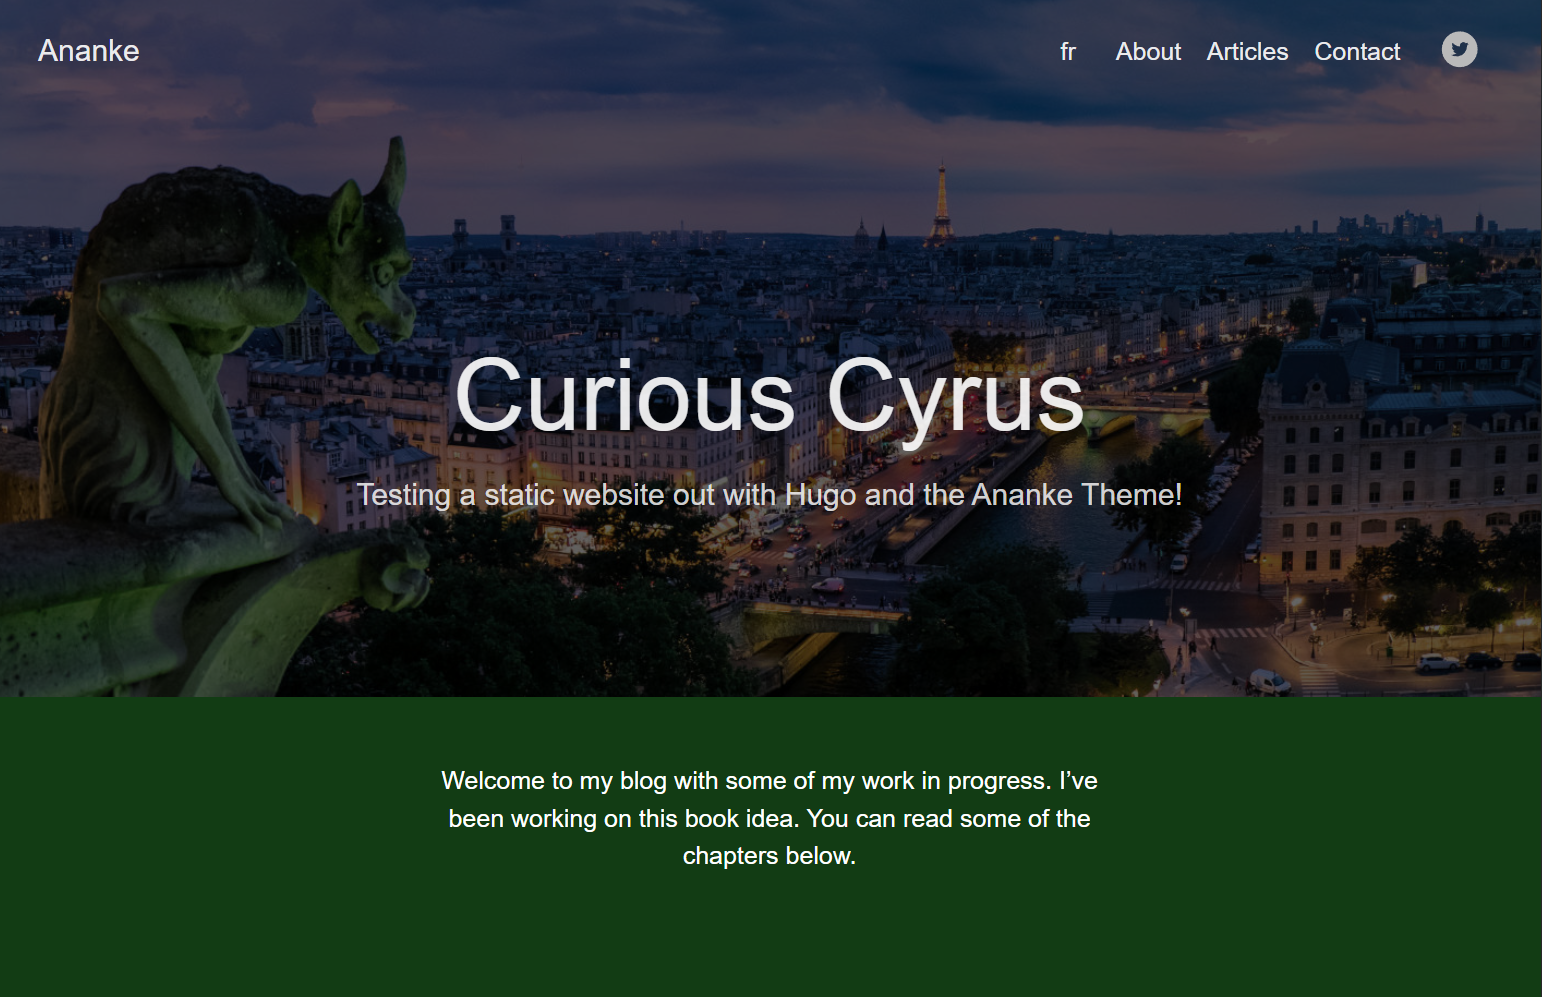
The Hugo tutorial uses the Ananke theme, which I initially worked with while evaluating the feasibility of Hugo itself, and whether I was going to continue to run with it when making this Website!
Before looking at hosting the Static Website I made in a few minutes with Hugo, I ran the local instance via
1 hugo server
I customized a few elements on the default theme, such as the background color, experimented with adding a post or two, and looked at some of the options you can customize via the built in hugo.toml files.

After evaluating that Hugo seemed sufficient while visiting some friends in WA, I commited the initial repository to save my work and then visit a few days later when I would be back in Colorado. In the mean time, I was interested in looking at some of the public options on the themes subpage of Hugo and found Clarity which caught my eye much more.
 One major thing to note about themes in Hugo though, is that each Theme has its own subset of parameters and conventions which influence how the HTML and CSS is built and then subsequently displayed. In switching to Clarity, I did have to essentially re-orient myself with the Framework.
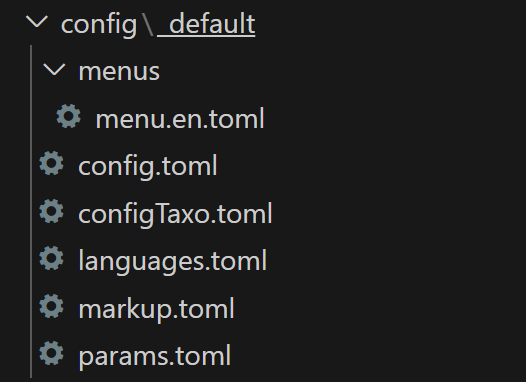
In the case of Clarity, one unique feature is that the regular hugo.toml file that I mentioned earlier, is actually unused. Instead, it has been re-implemented as a set of .toml files within the \config_default folder.
I find this method to provide greater customization, and also found it to be fairly intuitive, for example you can see the Header menu bar being configured below in the .toml for the menu.

 1[[main]]
 2  name = "Home"
 3  url = ""
 4  weight = -110
 5
 6[[main]]
 7  name = "Videos"
 8  url = "post/rich-content/"
 9  weight = -105
10[[main]]
11  name = "What is LEAP?"
12  url = "post/starting-a-project/"
13  weight = -107
Technically, this is the menu in English, since Clarity provides support for language switching. Sadly, I'm not a polyglot, and my French is a bit rusty so I am not using this feature 😅
There are plenty more customizations I made to adapt the base Clarity theme to my goals and intents, including adding a CSS override file to change the background colors when building the site, which is output to the public/ folder. See that here
Choosing a Hosting Method - Microsoft Azure: Cloud Computing
Next, to actually get the Website to be Live, we need a method of hosting. I decided to go with Azure, as I have some experience with Microsoft's Cloud hosting service, and they also offer free subscription plans for lighter workloads and non-business use - perfectly appropriate for this application!
Azure offers a significant amount of resource creation options, including one to create a Static Web App.
Github Workflow and CI/CD
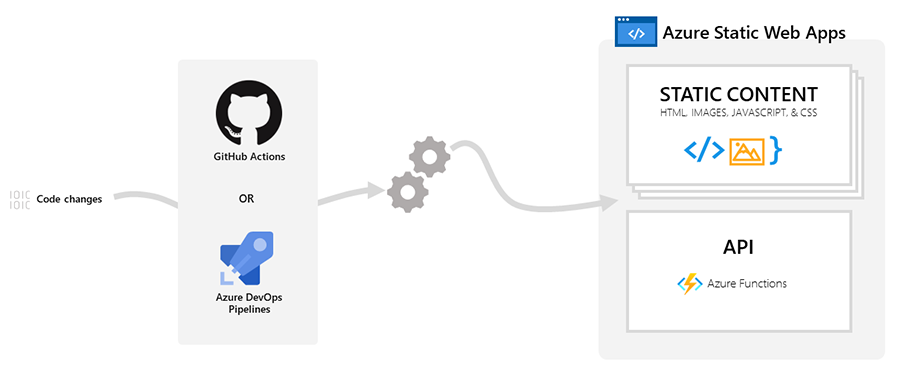
When setting up the Static Web App, there are options to link a Github account and enable link the repository for your static web app to. In addition to that, there is also a Build Preset Option that allows you to select a premade workflow for Hugo. Once this is done, any updates to the main branch of the repository will result in Github running a workflow and upon succesful completion, the website is automatically redeployed through Azure.
- More info on the Build Configuration here
For me, this simplifies updating the live site versus making edits to my local page, and allows me to more quickly and rapidly make changes, such as adding new posts, updating page elements, and beyond.
The entire process is a matter of checking in any new or changed files, adding a commit message, pushing through git, then waiting a few minutes! Here's what it all looks like
1  git add .
2  git commit -m "Added Trials and Tribulations of Web Hosting post"
3  git push
Then we hop over to github, wait for build completion,

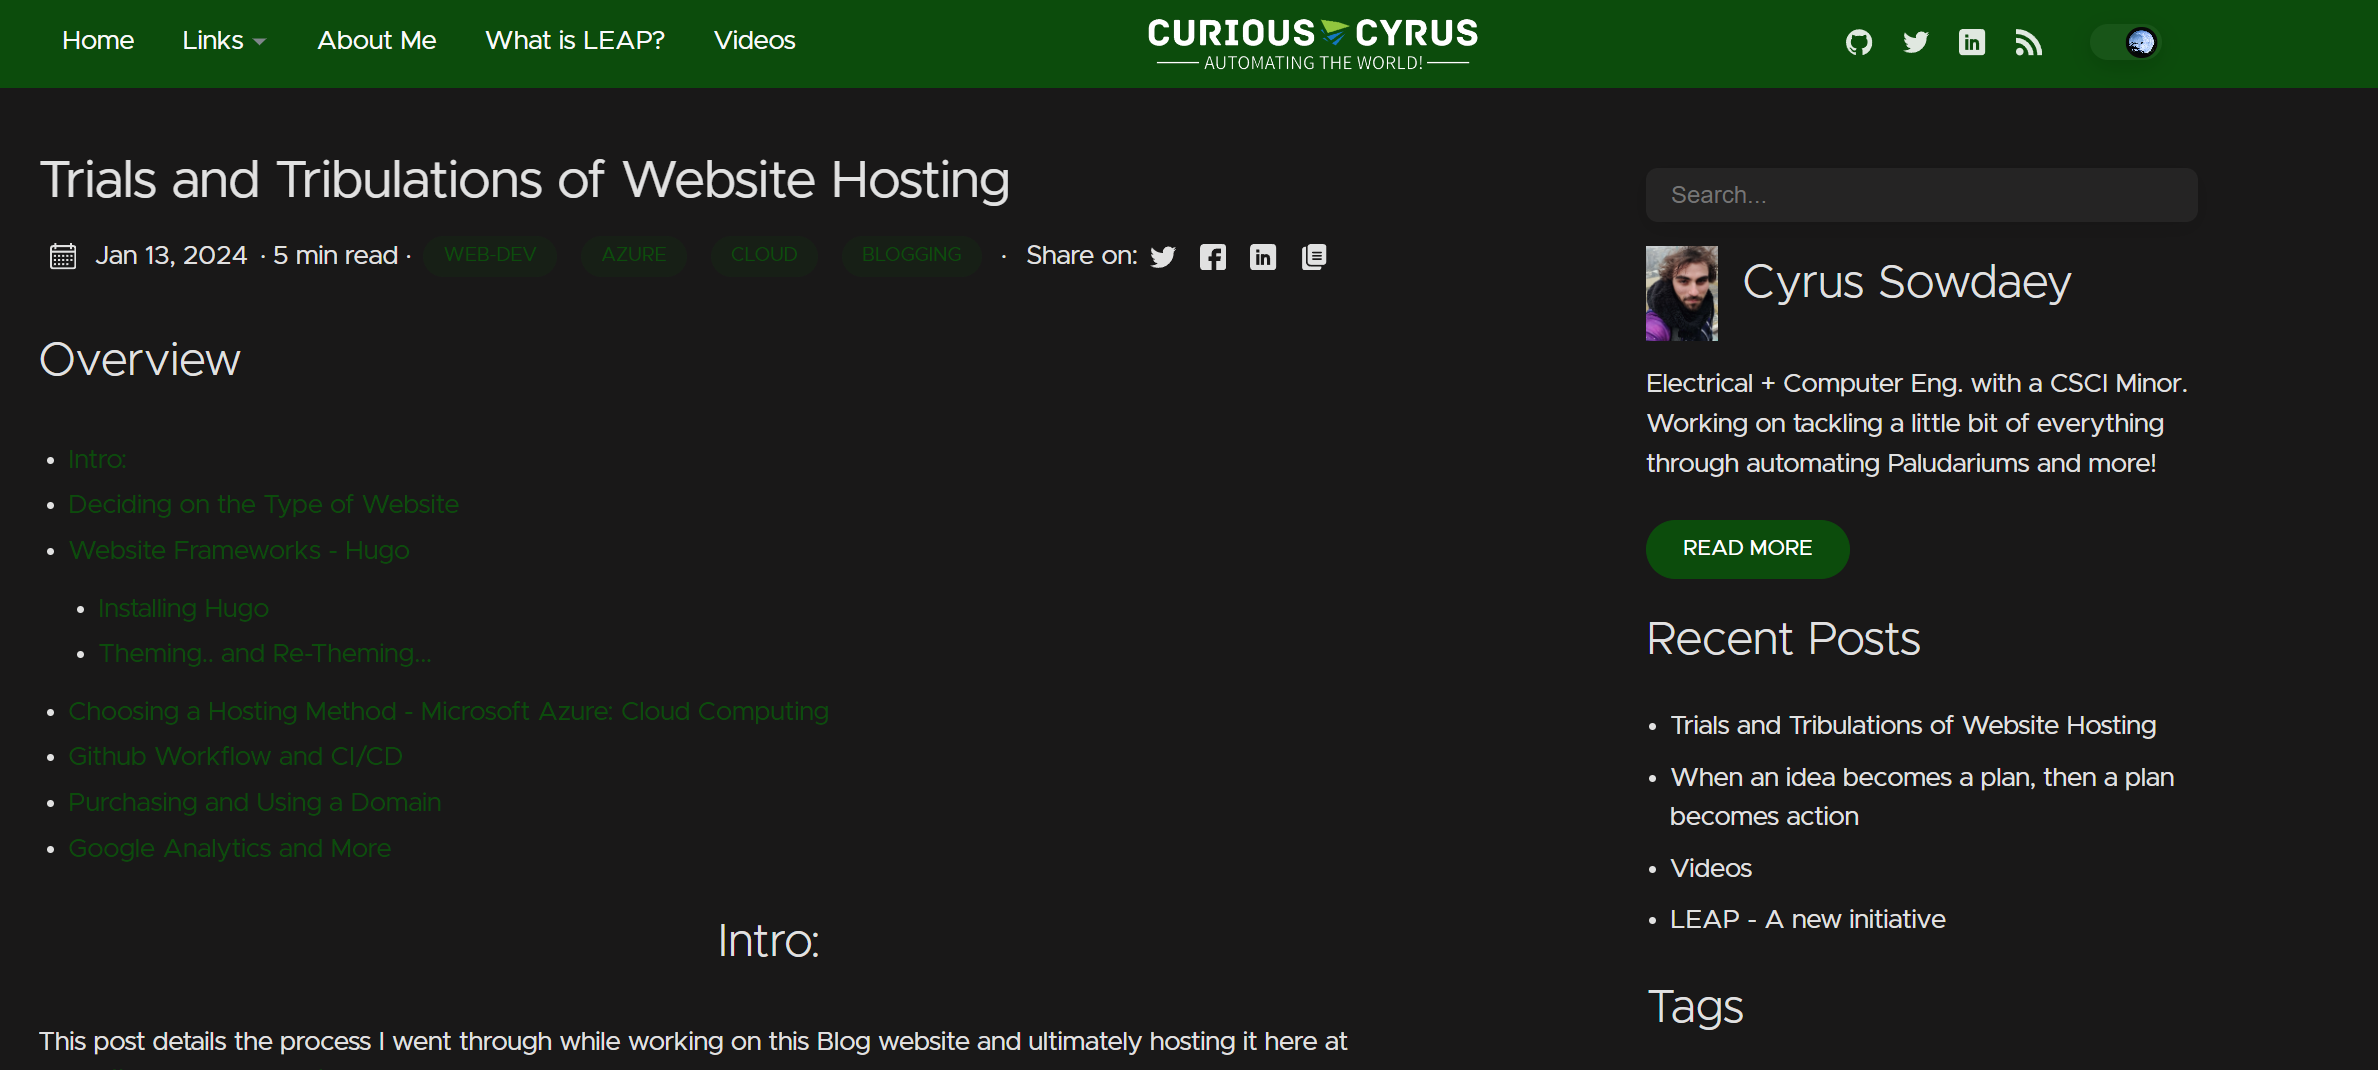
And now the site is up and hosted on my Domain! Well, actually, it's hosted on the Azure auto-generated URL, which I've re-pointed to the https://curiouscyrus.me domain that I purchased (on a yearly subscription) through squarespace and subsequently mapped. See how I did that next!
Purchasing and Using a Domain
I purchased my domain from squarespace here here. Once that was done, it was a matter of navigating to the Custom Domains tab in Azure, and following the steps to
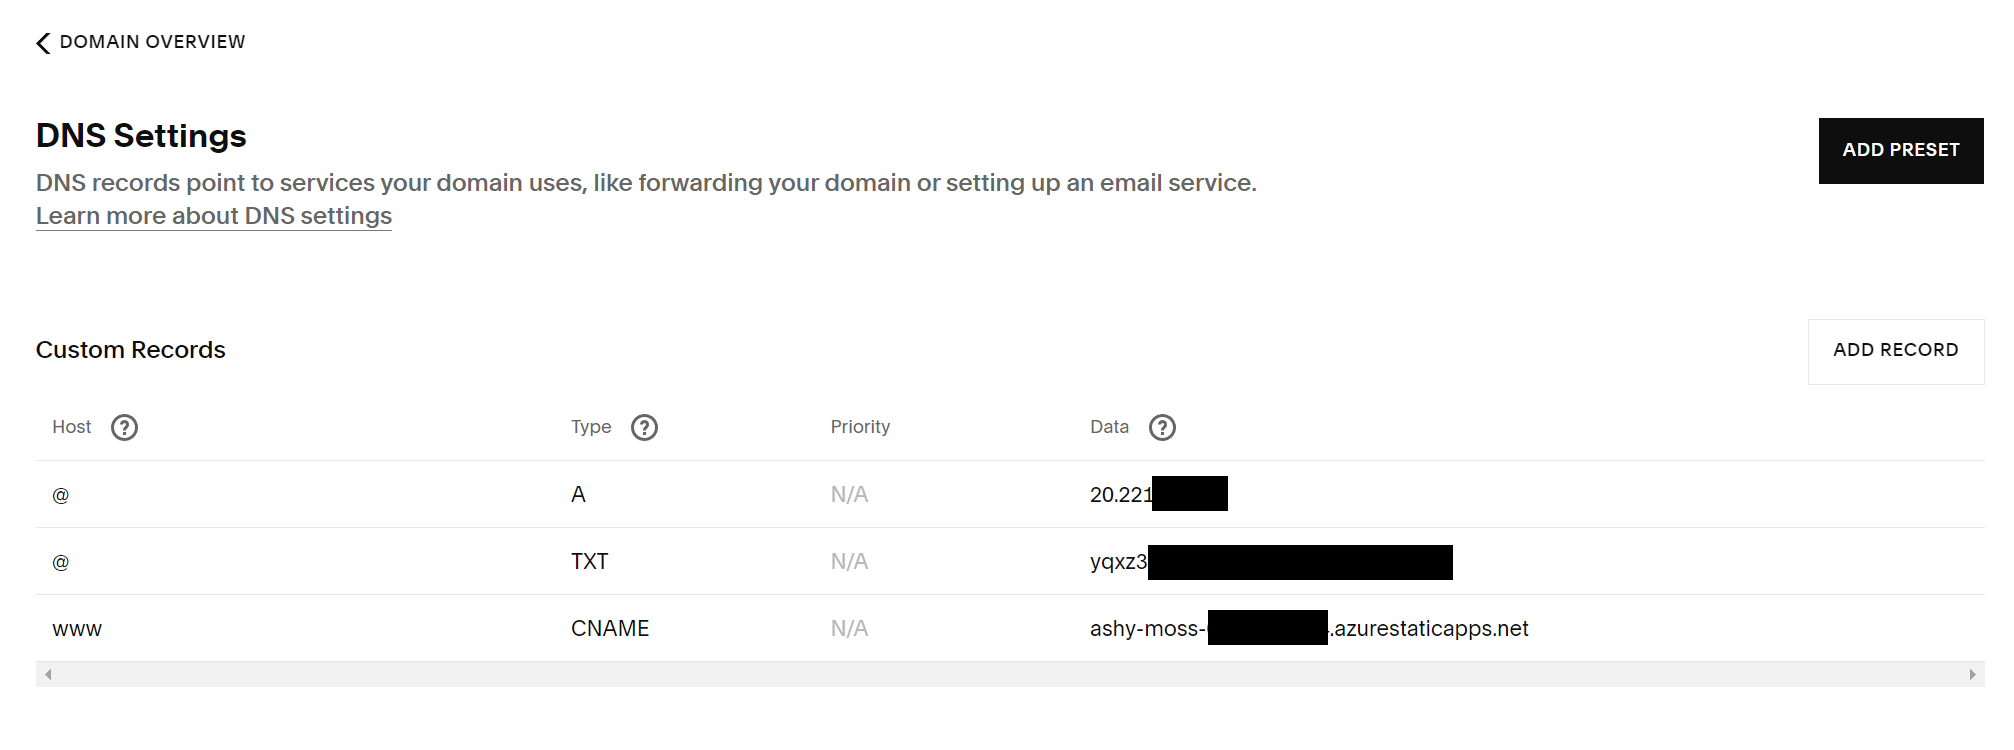
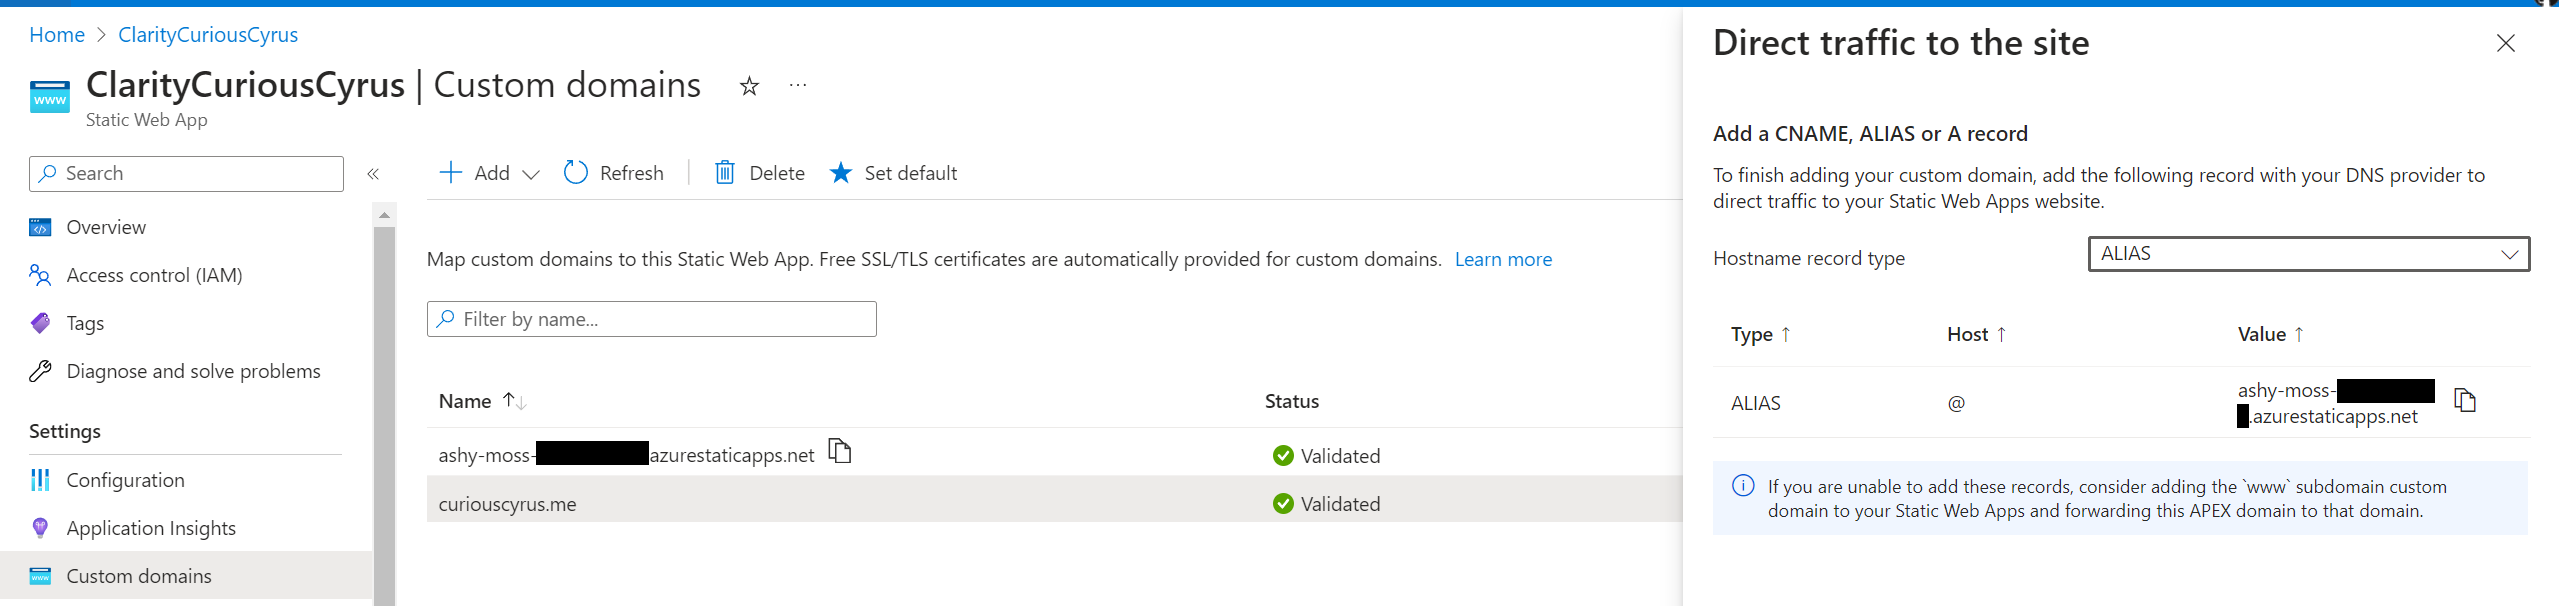
Setting this part of was actually fairly simple, and was a matter of waiting for the Validation to pass and a green check mark to pop up ✅ For more detailed info, check Microsoft's official resource
Google Analytics and More
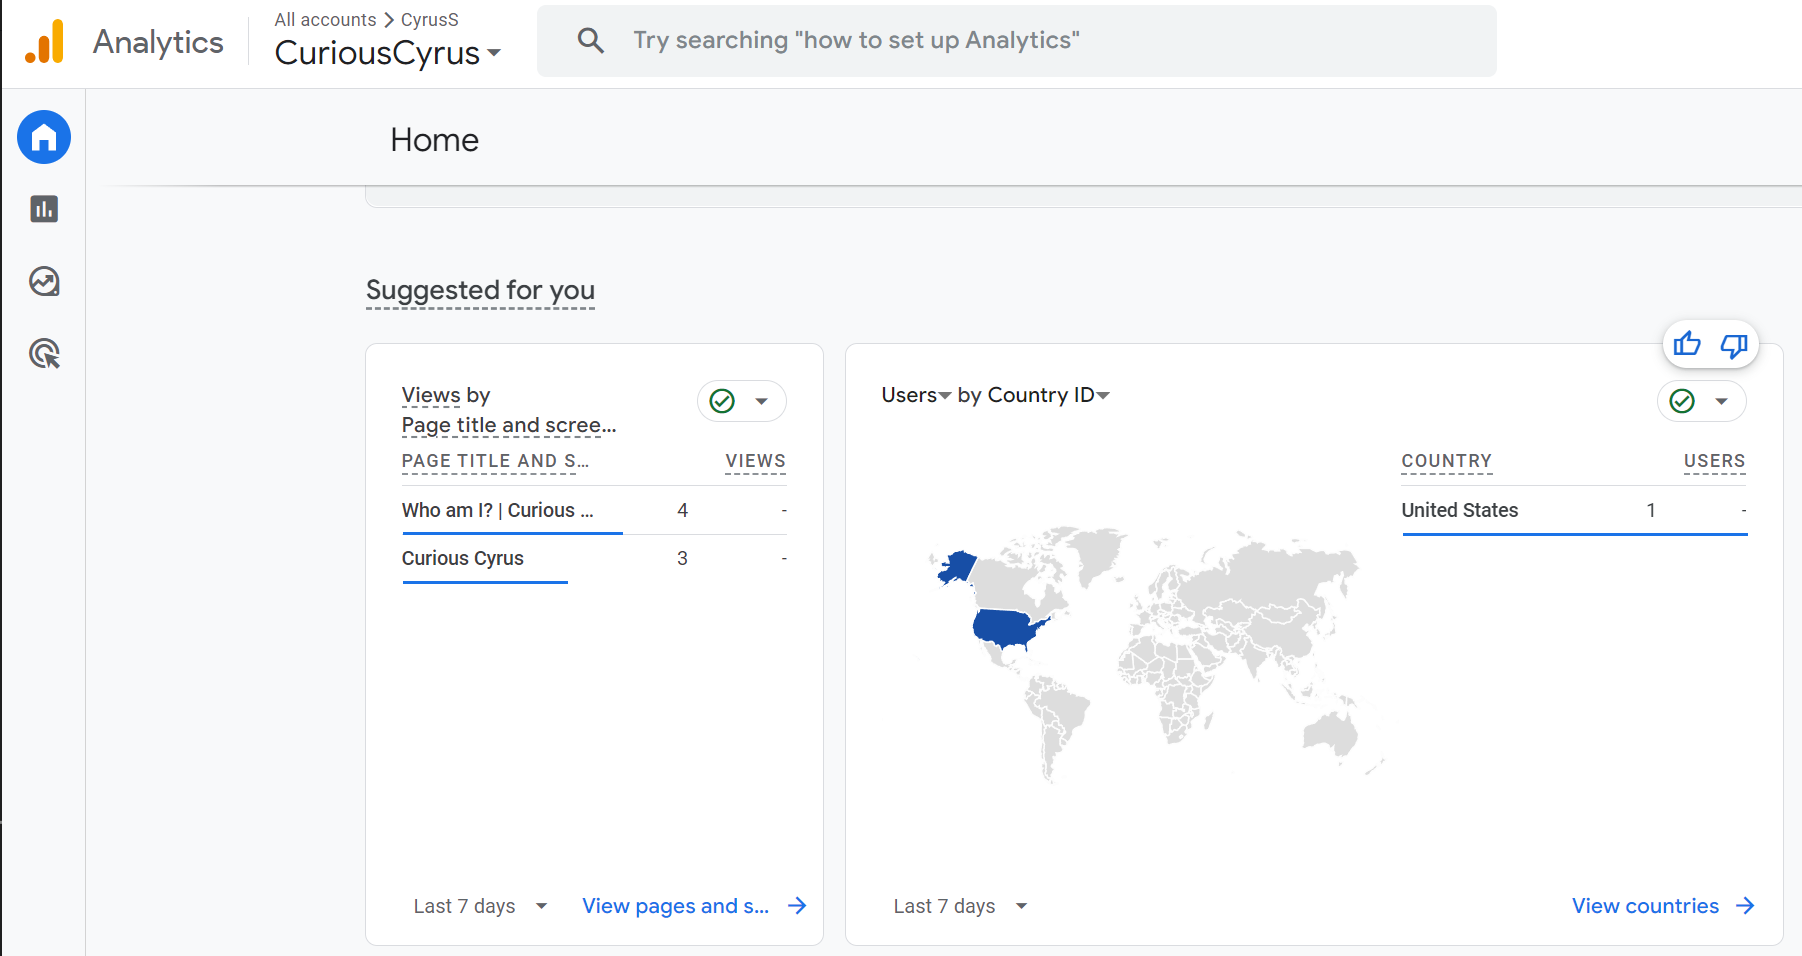
One of the last things I wanted to implement early on with the Website was a method of tracking the Analytics and viewer statistics of the website. The Hugo Clarity theme supports this integration fairly easily within the params.toml once you have acquired your analytics ID. I had to create an Analytics account, add the https://curiouscyrus.me website, and followed a few more easy steps.
1# Google analytics Id
2ga_analytics = "G-(HIDDEN)"
Once this was done, I was able to start collecting web traffic and viewing it. Below you can see the first bit of traffic, from myself!